1, 2, 3 Testing : : The Ashton Top : : A Helen’s Closet Pattern
Hey Every buddy.
This could be a technically challenging post. My WordPress updated to a newer, supposedly better, version of its former self and as a result I have some new tricks to learn. I remember years ago, starting the blog, and feeling all fired up to learn me some mad computer skillz. While I’m not completely grumpy about the updates…I admit…I did grumble under my breath about ‘Why do things that were working perfectly fine have to change (blah, blah, blah).’ And….ermmmm…my grumble turned out to be loud enough for my techie husband to not only hear me, but incited him to stand up for all the wizards that make it possible for me to have a blog at all. And he’s right…this ability to blog and share is magic and I really do appreciate that I have this platform available to me.
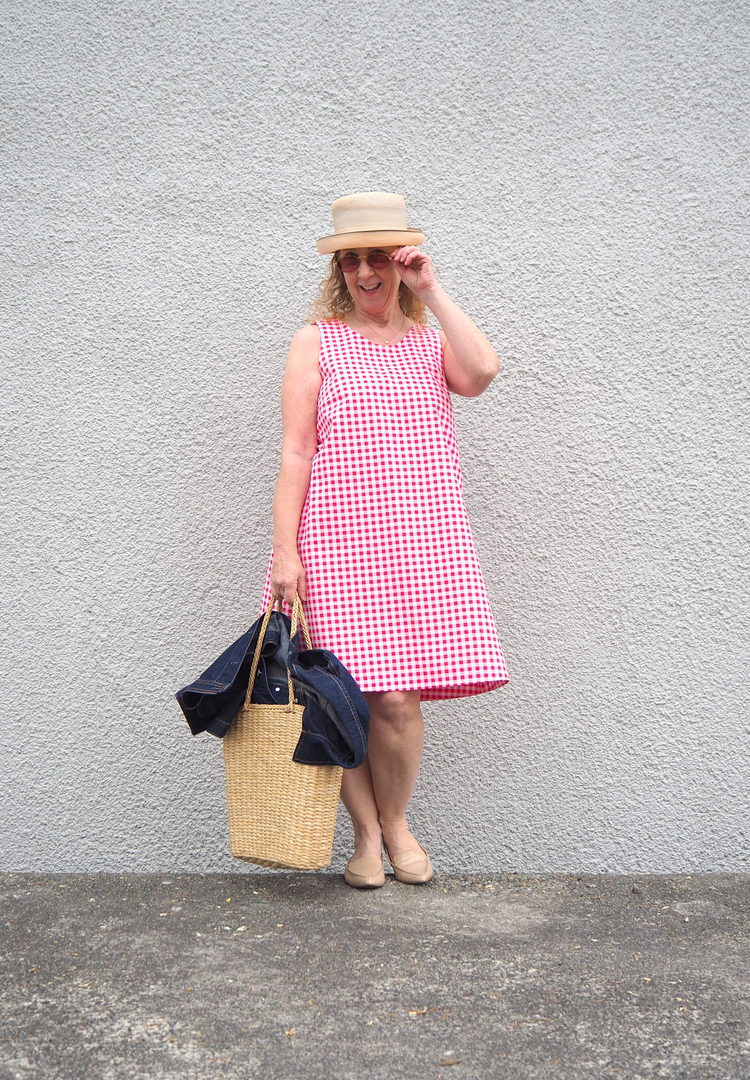
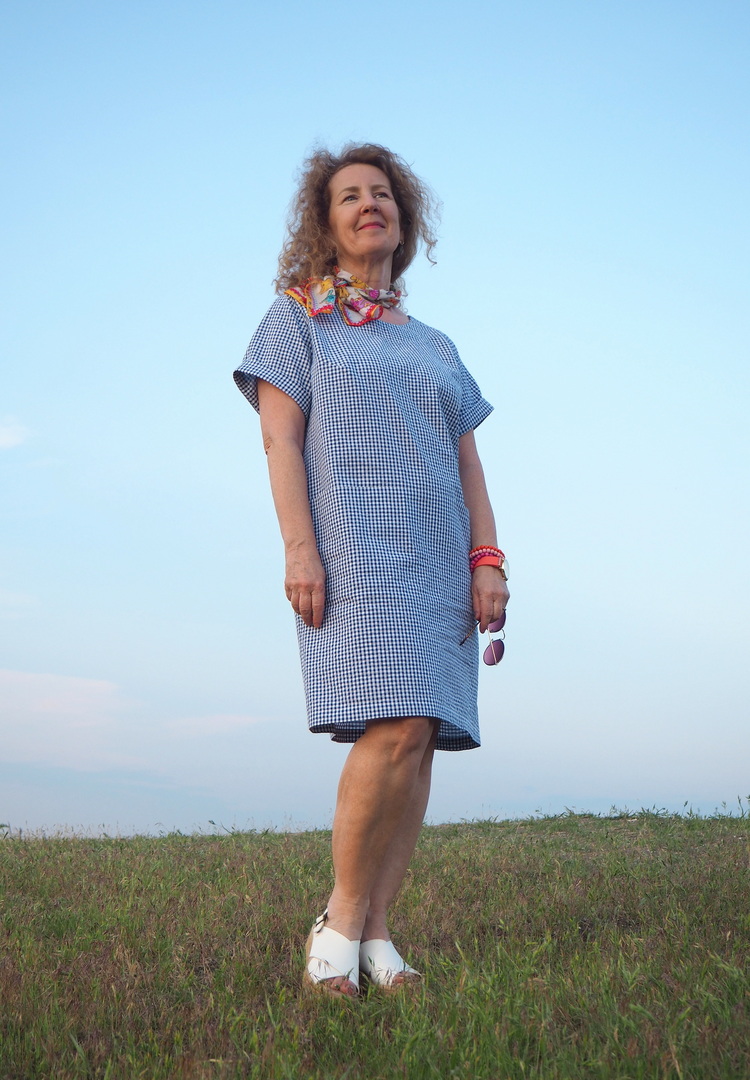
I recently did some pattern testing for Helen’s Closet; the Ashton Top, drafted in two lengths, cropped and hip length. I know, I know…you’re seeing a dress…I couldn’t help myself. After making the test garment as drafted, I literally could not wait to sew the pattern up as a dress. And yes, I promise to show a photo of the top at the bottom of the post.
The Ashton Top is categorized as an advanced beginner level. While I agree…I opted for this rating in the feedback form…the instructions are so thorough and the accompanying illustrations are so clear that I really think, regardless of your sewing skills, you can do this.
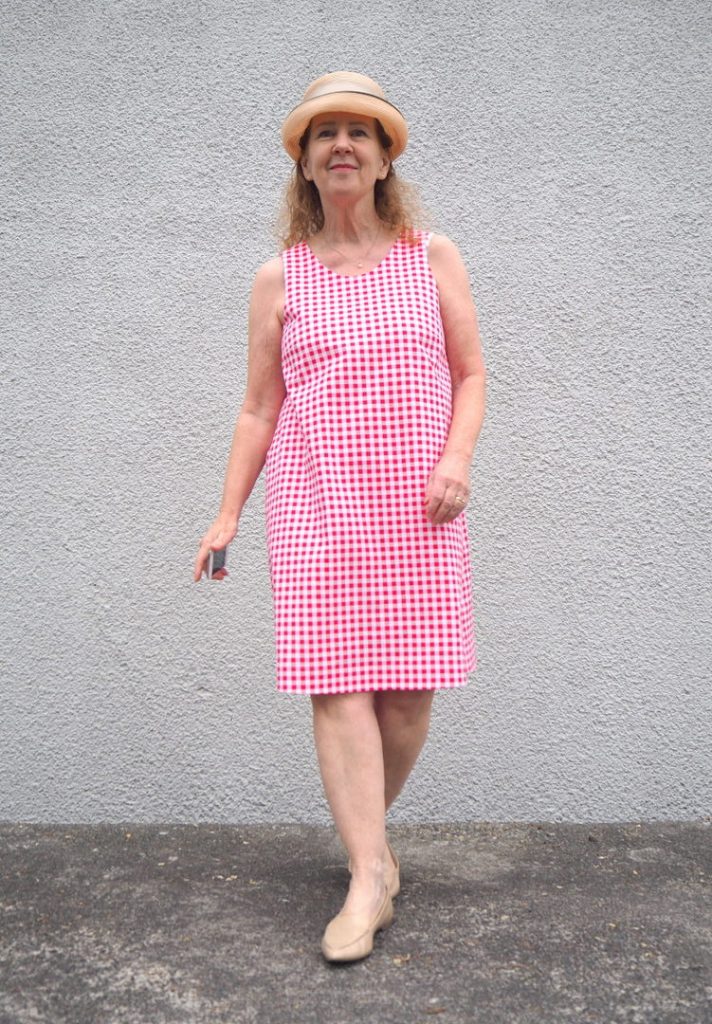
The pattern is available in sizes 0 – 22 in a B cup, and additionally in sizes 12 – 30 in a D cup. Based on my measurements, I am a size 8, C cup which led me to do a 1″ full bust adjustment on my test top. When I made my dress, however, I opted to sew a straight size 8, no FBA, and I’m totally happy with the fit.
The Ashton Top comes with instructions for either a bias binding finish or an all in one facing…the all in one facing is genius…just sayin’.
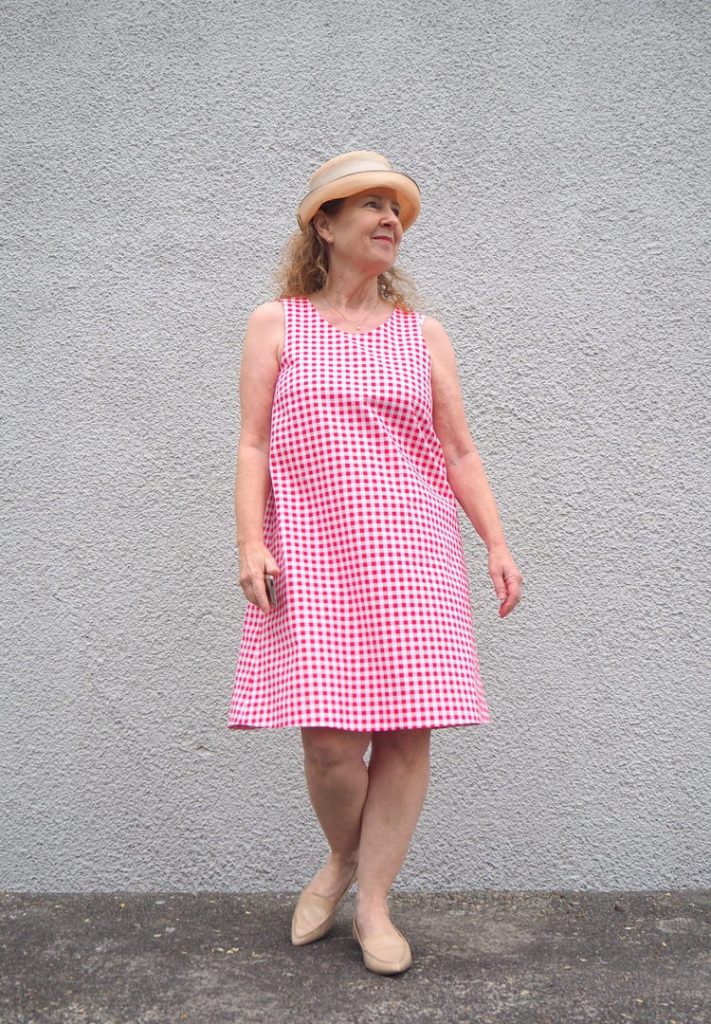
The design is a deceptively simple tank silhouette that provides good coverage. There are bust darts that give the garment shape and I find the cut of the armhole and neckline flattering. I do have some peak-a-boo bra strap showing, but I’m okay with that.
The hem is faced with separate pattern pieces, a design feature that I implemented in my dress version.
I’ve had this fabric in my stash for what…years? It’s a Value Village find, cotton with a heft that falls somewhere between light weight and mid weight. It’s pink and it’s gingham, (printed not woven which can be a challenge when it comes to print matching). I was pleasantly surprised to see my side seams lining up as well as they are.
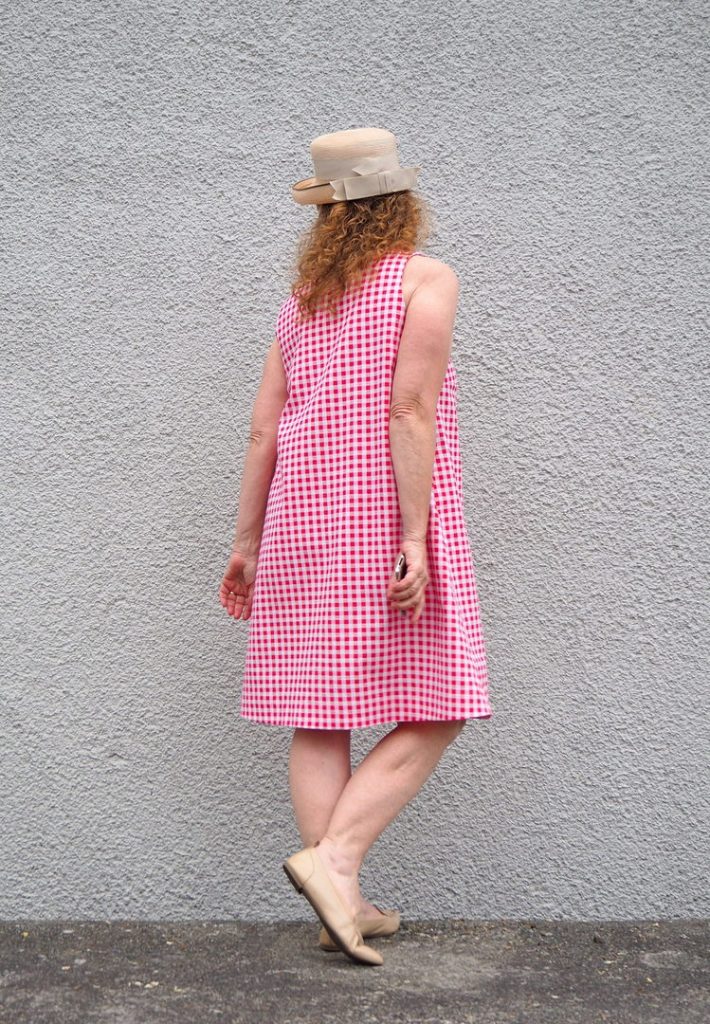
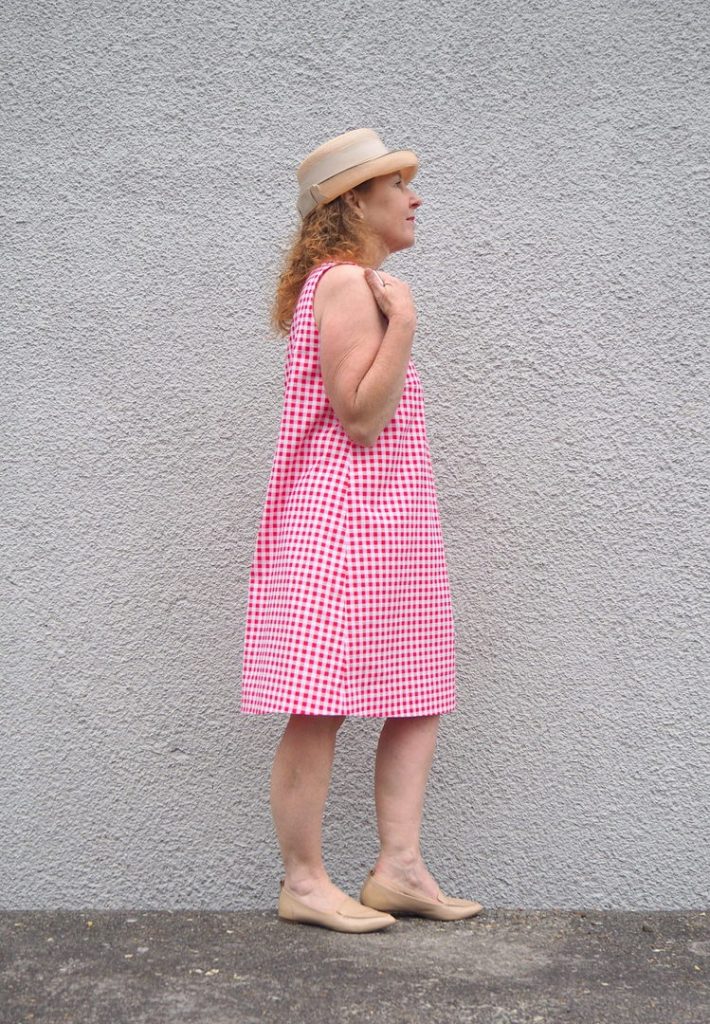
The back view is very basic. Okay…the front view is also very basic, LOL, but I include these views for those of you that are thinking of making the pattern.
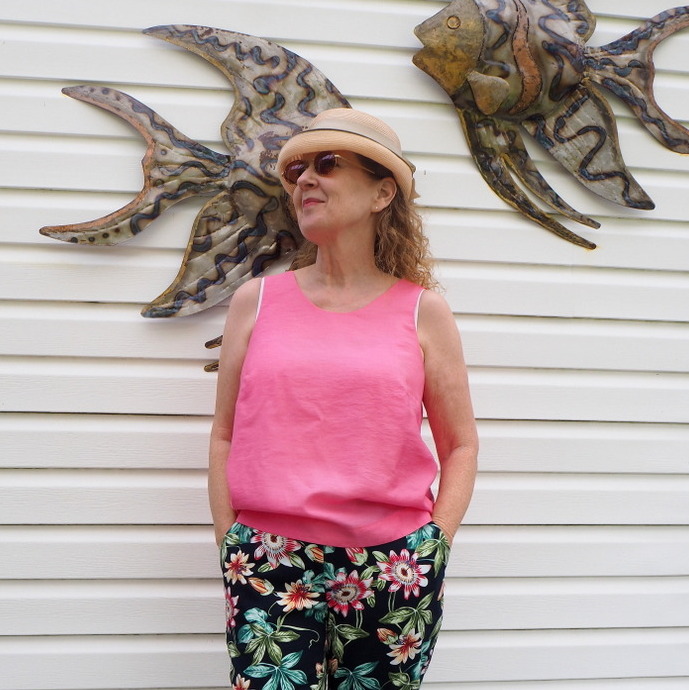
As promised, a photo of my Ashton Top, hip length version. This I made with a 1″ FBA; it’s ever so slightly roomier than my dress. The white you see? Those are my bra straps.
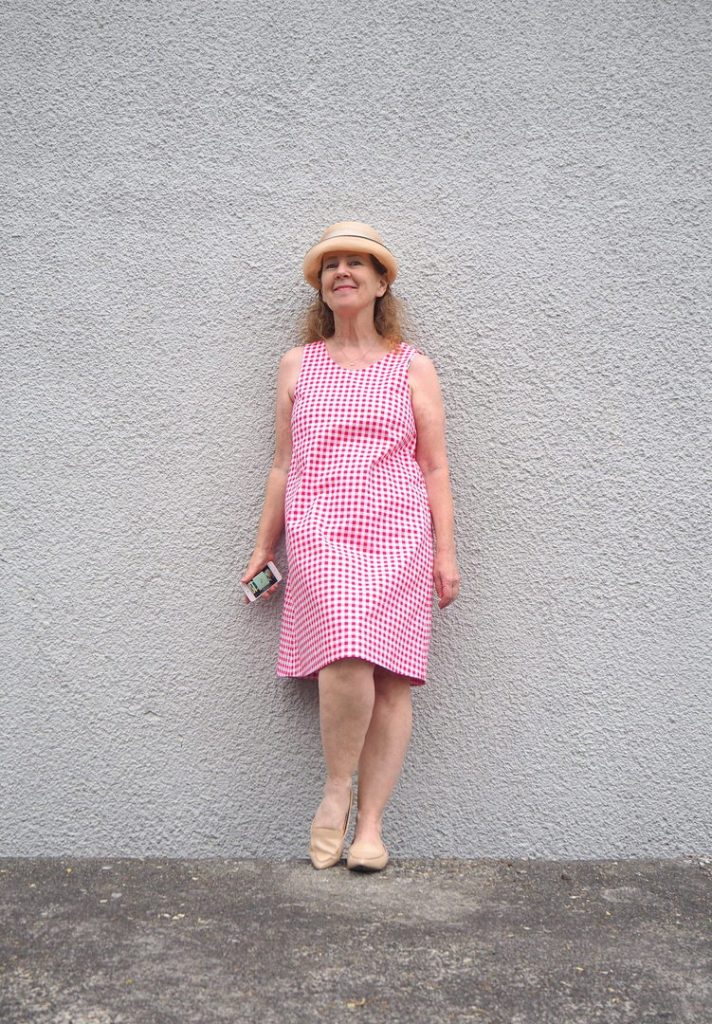
I extended the hip length version of the pattern 12″ in length (I’m 5’2″). I anticipate that Helen will have a blog post with an Ashton Dress hack in the near future!
I hope my review is helpful to you if you are considering purchasing the pattern. If you have any questions, please ask away.
In the meantime, I’ll be powering out another Ashton Dress, whittling down my fabric stash in the best possible way.
Wearing and LINKS:



19 Comments
Really cute. I wasn’t drawn to the top or skirt, but your dress version is really pretty.
If my memory serves me right, this is the first ‘tank’ style top I’ve ever made. I tend to wear t-shirts or button shirts. It will be interesting to see how often I reach for the top version. The dress is already a favourite! 🙂
p.s. the WordPress changes have been challenging!!
Ah…so not just me. I’ve been having a hard time getting me links to show up in a different colour text. The links at the bottom of my post showed up as pink….but….I’m not really sure how it happened, LOL.
Hi Sue (and Coco), I’m finding it interesting that I don’t see a difference in the blog appearance (I quickly looked back at an older post). I feel your frustration. The 21st century is so trying…
However! Cute top & dress. I agree with Coco and this ‘second glance’ is a very pretty simple top. (May I suggest a hot pink brassiere?)
Don’t I know it! 🙂
The changes are ‘behind-the-scenes’…The wordpress application has been changed to provide improved security etc. (I say the etc. because I can’t remember everything my husband said, LOL.) There have been changes in how ‘we’ insert photos to our posts, and also many ‘little’ changes about where to change the text colour etc. None of which is visible after publishing, LOLOLOL.
The pink bra is totally a possibility. Thanks for the suggestion!
I love that dress on you,Sue! The fabric choice is just perfect with the easy, breezy, simple lines of the dress. The top is fab as well and loving those tropical trousers. xxx
Thanks so much Vix. I feel like I’m slipping back into the sixties, slowly but happily! The silhouettes were simple then and I like it! xo
As I said on IG, you look fresh and lovely, as if ready for some beautiful gardens or, as previously mentioned, the lavender fields of Provence. Seeing a larger version of your photo–and more photos of the outfit–I stand by my original impression. It is a lovely dress and it looks so lovely on you. That gingham fabric is summer incarnate!
With the lineup of jumpsuits I have waiting to be completed in my stash, I’m not sure if I’ll get to this dress pattern, but I am adding it to my ideas pile. Your makes always get me so eager to get busy on my sewing!
Hugs,
Sherry
I think it is a uncomplicated, flattering dress. One you will pull out on hot days and immensely enjoy it. The bra straps showing underneath your top… hmmm .. maybe a good idea to add some piping like this? Or an underlayer with just a hint of a ton-sur-ton colour? I quite like it.
Greetje
I’m feeling inspired by Lodi’s suggestion of making a pink bra!
flashy woman (hahaha)
LOLOL 🙂
You made a perfect summer dress for those really hot Vancouver/White Rock days. I can see why you’d want to make more. I had a very similar dress way back in the 60s. It had cut-in armholes and I added bra strap holders at the shoulders. It had French darts and a keyhole at the neck opening. I made lots of them because they were comfortable to wear, quick to make and very cute. Carry on Madam! Let’s see the next iterations.
YES…I feel the sixties vibe too. In fact…I have photos of me wearing a similar silhouette….I may do a then and now post, LOL. They can be fun.
Indeed quick to make…and that is very satisfying to have a quick sew result in such a cute finished look!
Okay…more to come, 😉
Very sweet! Yup, that’s pretty much the same shape as the first dress I sewed for myself back in 1963. It was a floral though! Comfy and cute. As to the bra strap issue, perhaps ribbon and snap keepers will help? I’d maybe widen the shoulders a wee bit next time too. My narrow shoulders usually mean that patterns are too wide for me but my bra straps are also wide so sometimes compromises need to be made!
Barbara mentioned the straps too. It’s a GOOD idea, thanks! That being said, I’m probably too lazy to add them to this make. 🙂 For the future I might just tweak the pattern a little. You know…it could also depend on the bra that I’m wearing at the time too. Bra Makers bra straps tend to be positioned a little closer to center and may not show at all…
Hi Sue, did you find that side bra straps (underarm) show at all? I have struggled to find a tank pattern that doesn’t have armholes that are very big on me, but can’t see how big the armholes are on this pattern. thanks
Hi Jenny. Hope this doesn’t confuse you….
I am wearing a test version of the Ashton Top. I raised the seam at the underarm by 1/2″ and it feels good for coverage. The FINAL version of the Ashton Top has been altered to reflect this change, so if you sewed the pattern ‘as is’ it should fit similar to how mine fits me.
My bra straps are set quite far towards my shoulders by preference and I do find that the straps show a little. On my latest version, not blogged yet, I added a little extra width (1/4″) to the outside edges of the armhole, beginning at 1/4″ at the shoulder seam and tapering to nothing.
Hope this helps!