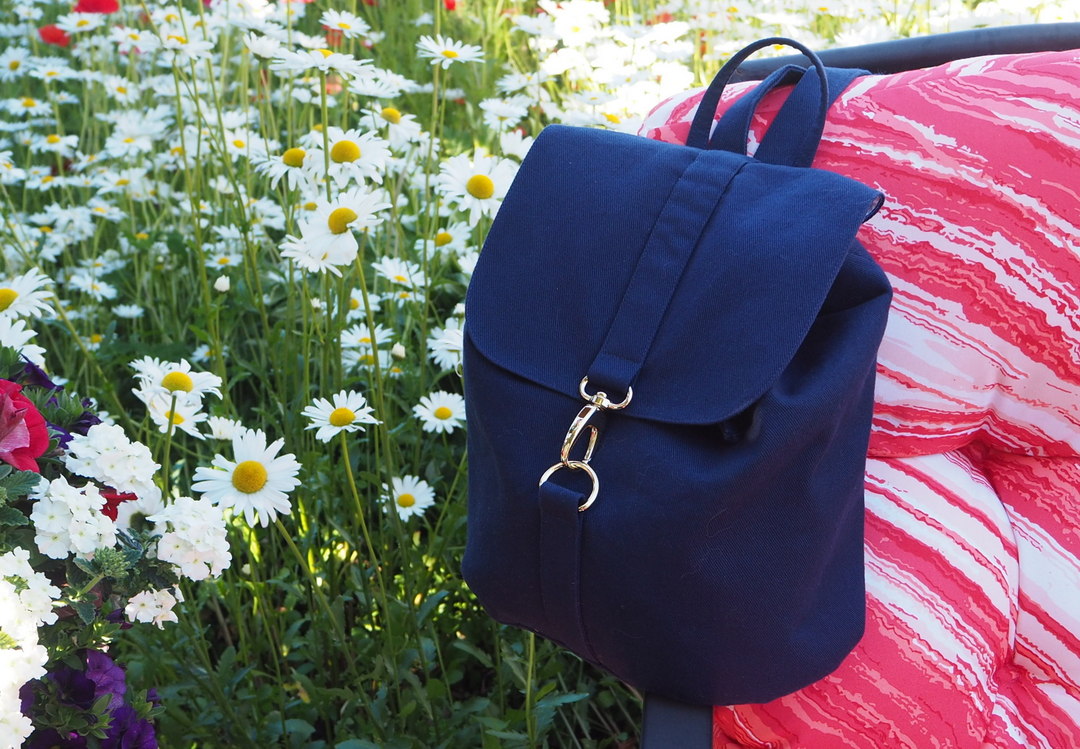
My London Backpack : : LBG Studio : : #makenine2019
I’ve been slowly chipping away at my #2019makenine grid…and the experience is proving to be quite a different ride than last year.
Apparently I’m less than committed to some of the choices I’ve made.
Which is good.
Good? you ask…
Yes. You see for me the challenge is about more than ticking off achievements. Sewing from my fabric stash remains the basis for my choices…but make nine has me digging deeper. I’m consciously asking, ‘Will I wear it (or if an accessory, Will I use it)? Will I love it? And…will my make have longevity?’
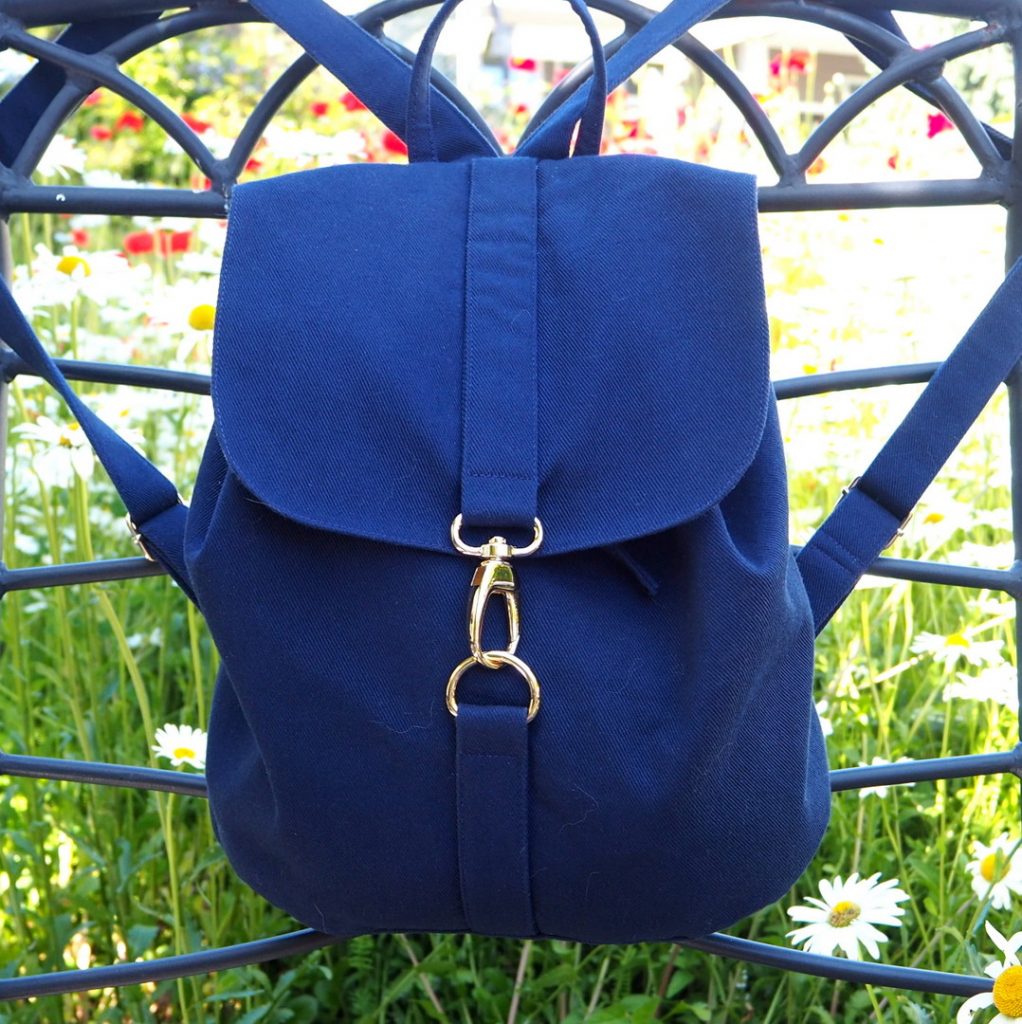
In my make nine grid I had paired (with some hesitancy) the London Backpack by LBG Studio with a lovely blue and white fabric. Then I actually wrote the words….’What I really want is a backpack that looks rather like a rucksack…maybe leather or suede… definitely a solid, neutral fabric‘.
I didn’t have the leather or suede, but I did have this navy hued cotton twill…in other words; a solid, neutral fabric….which was otherwise assigned to be Burnside Bibs.
I’m happy I was hesitant. It caused me to think more carefully. And now….this backpack….I love. I use it constantly. It may not be leather or suede, but it’s brilliant just the same.
London Backpack : : LBG Studio
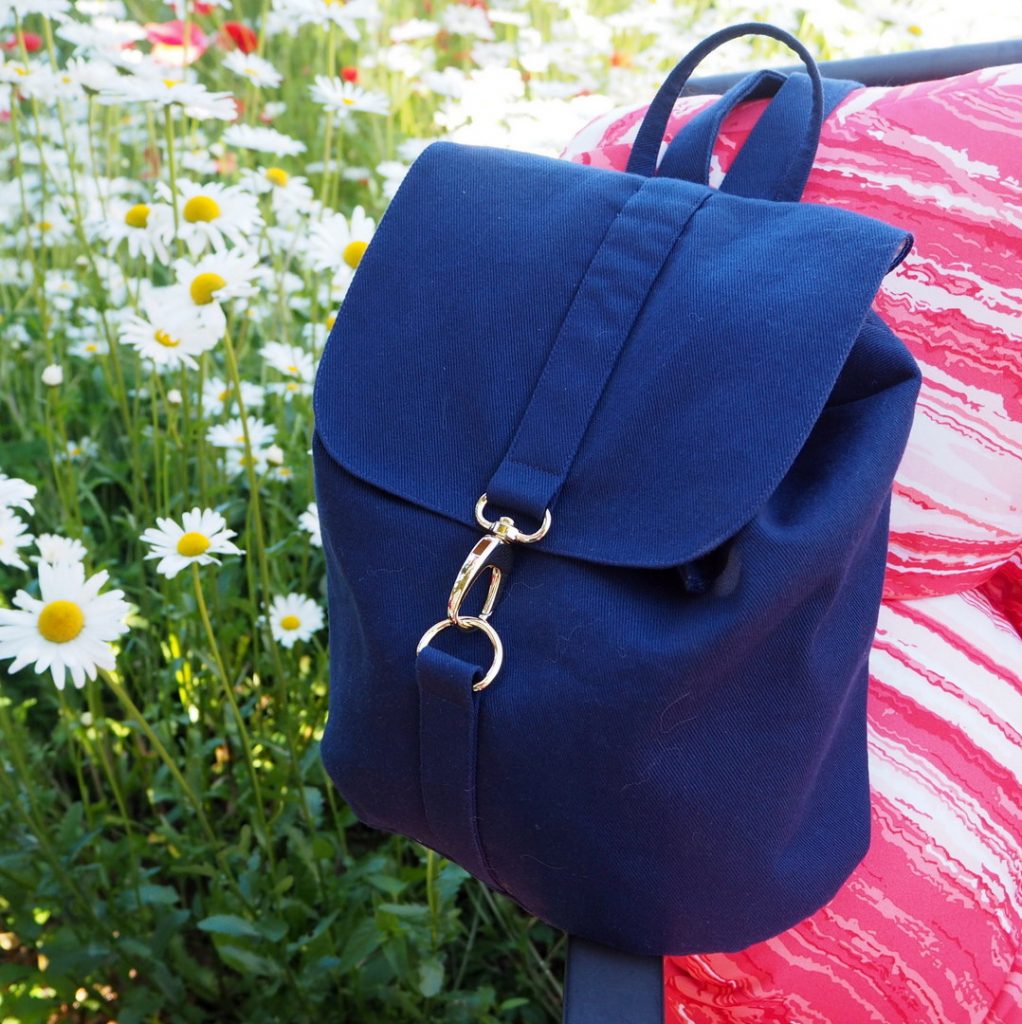
All righty…let’s get to some pattern details.
The London Backpack isn’t huge. Finished measurements are:
Height: 12 1/2″ (32cm)
Width: 13″ (33cm)
Depth: 5″ (13cm)
For me, it functions perfectly as a purse, yet I can carry books or small purchases effortlessly.
This bag comes as a PDF with actual pattern pieces. I found the instructions detailed and easy to follow. Suggested fabrics, pattern layouts, sewing terminology…it’s all there.
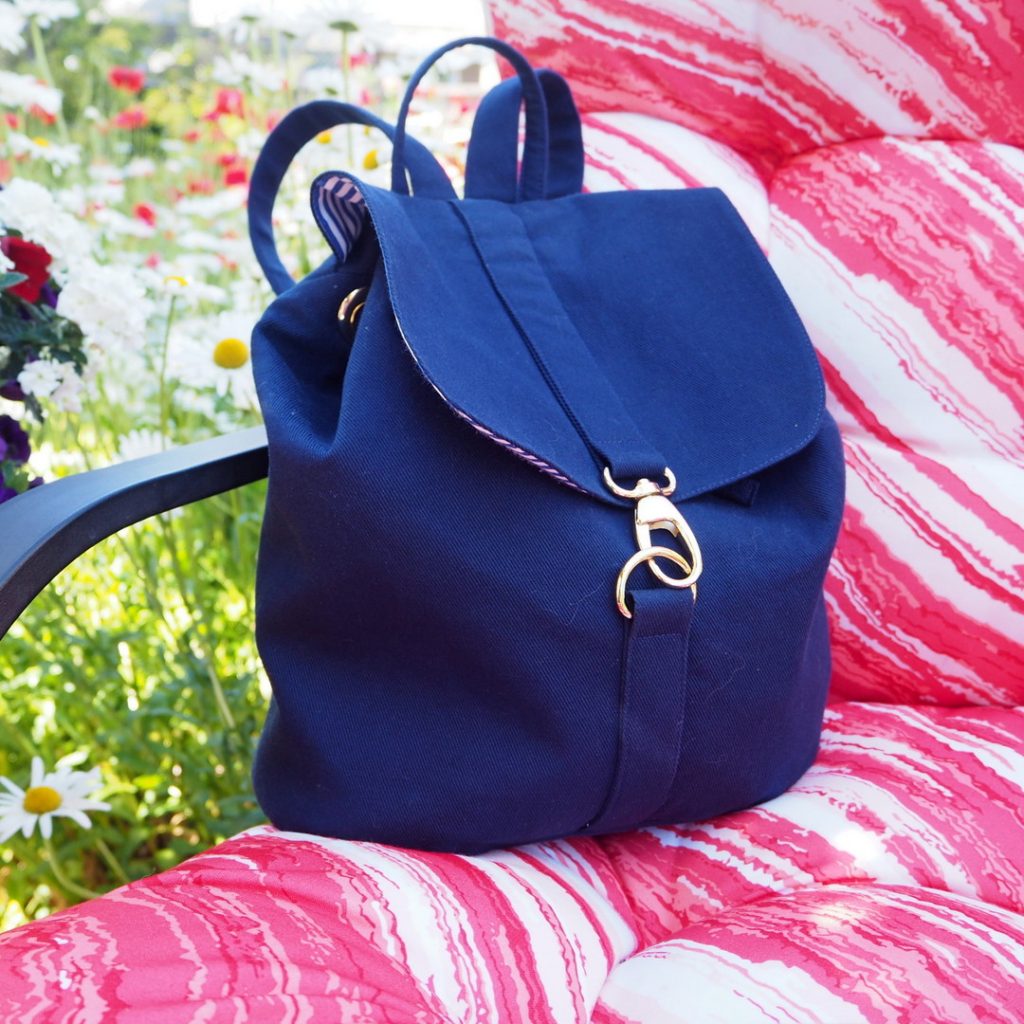
Of note….The London is drafted for the flap to have a magnetic closure…the toggle and D Ring closure is my own addition. No other changes were made to the pattern.
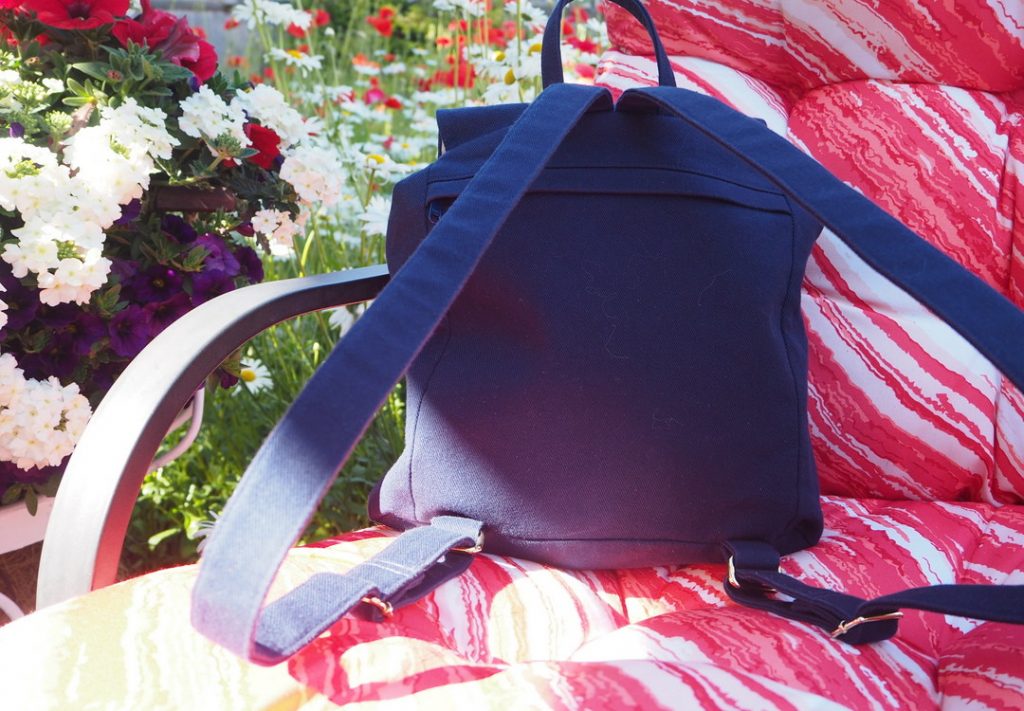
Straps are made from self fabric and are adjustable. The pack also has a hanging loop, or handle, at the top.
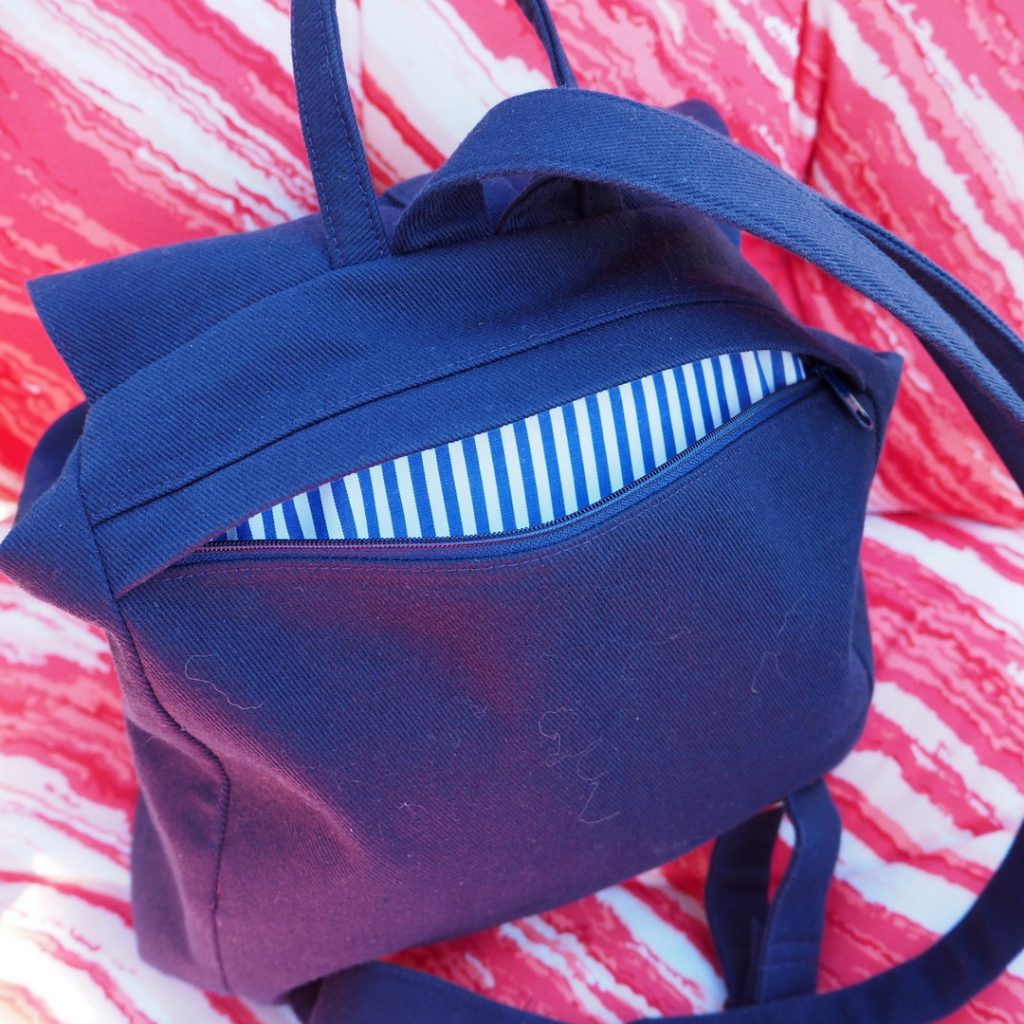
There is a ‘hidden’ outside pocket. I love the thoughtful addition of a zipper cover.
Quilting cotton or similar weight fabric with a secondary canvas interlining is suggested. Optionally one could…and I did…..use a heavier outer fabric and omit the interlining altogether.
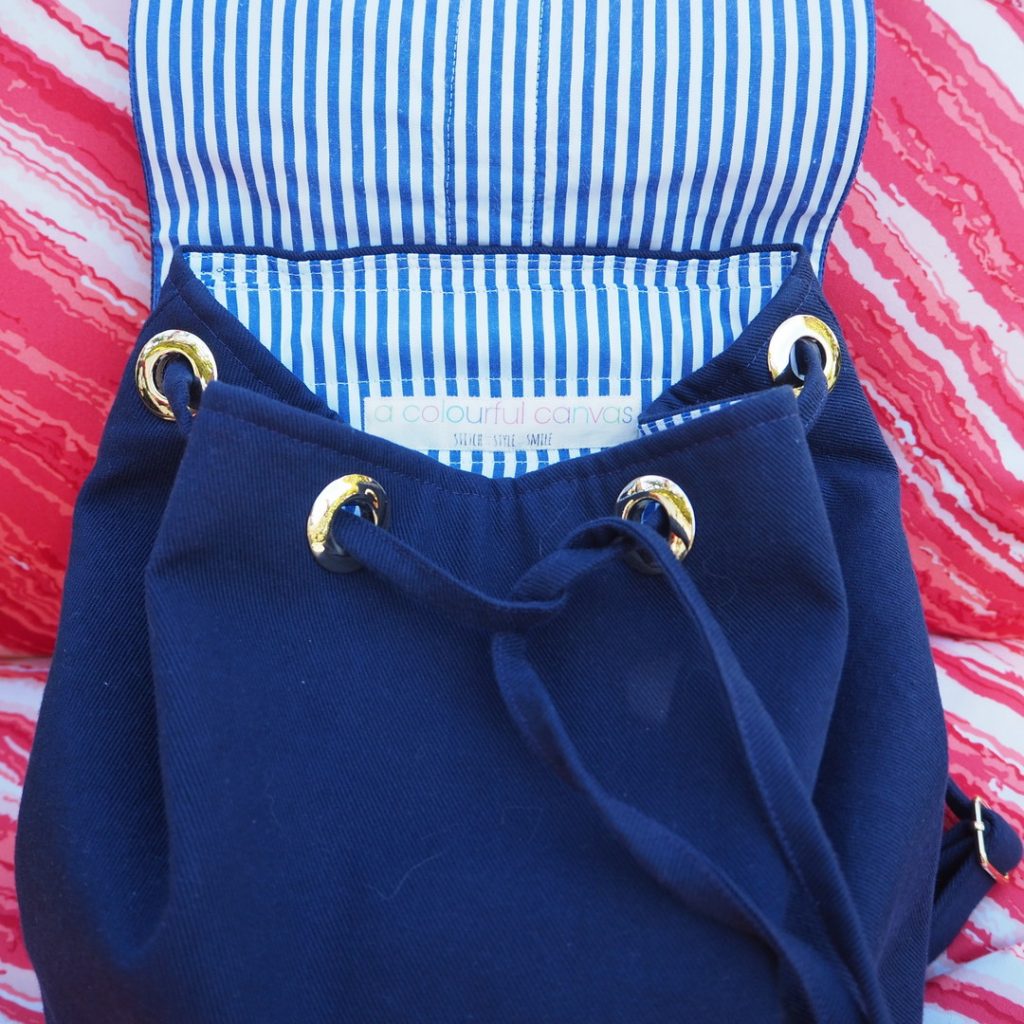
The London has both an exterior flap and a drawstring closure. A self-fabric drawstring is threaded through six eyelets and a casing in the back lining.
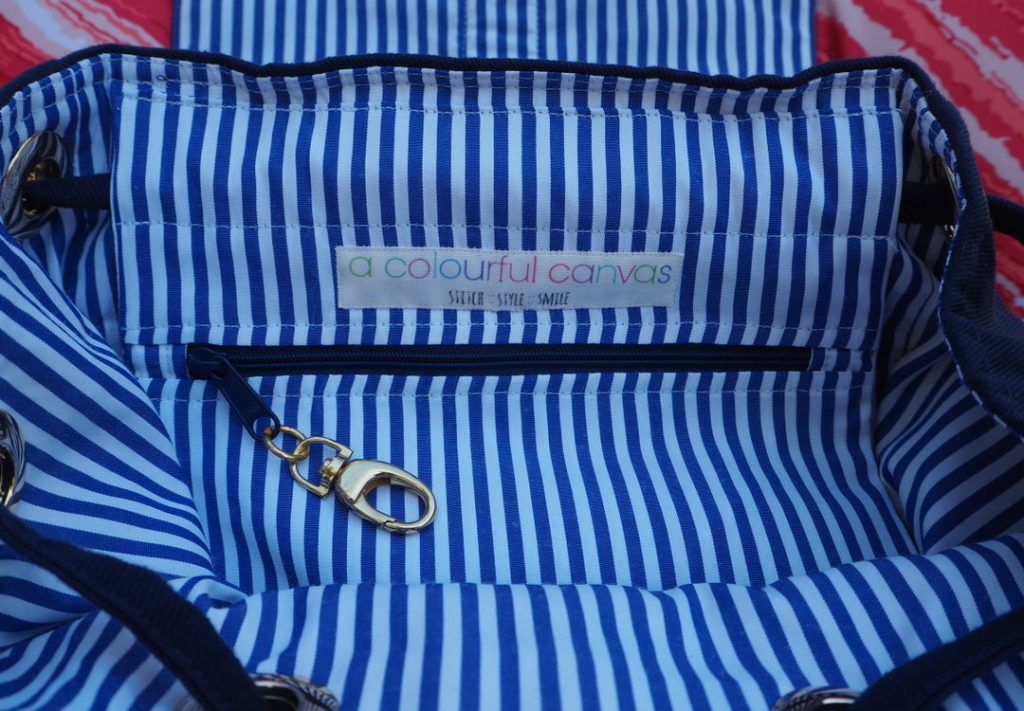
The backpack is fully lined and includes instructions for a zippered interior pocket.
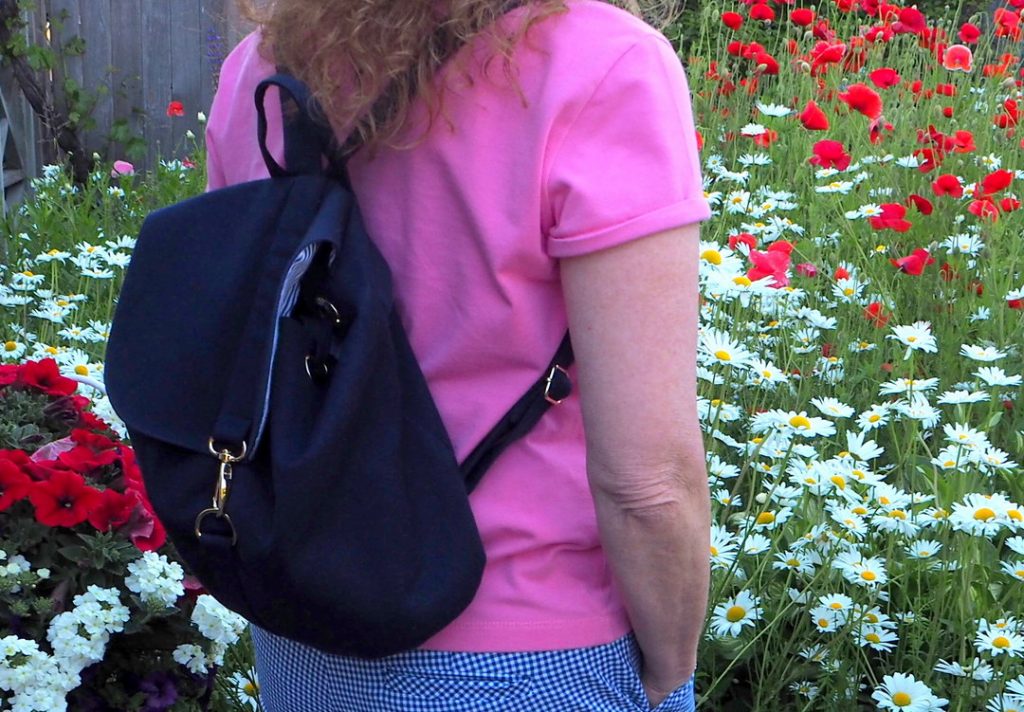
Honestly…there isn’t one thing on this backpack that I would change.
I believe that successful bag making relies not only on a well drafted pattern, but also on quality hardware. My sources are as follows:
Sallie Tomato : : Gold Grommets and Gold Slider Buckles
Emmaline Bags : : Rectangular Rings, Swivel Hooks, and D Rings
LBG Studio : : London Backpack Pattern
I didn’t venture far for photographs. I’m in my back garden. Standing out there pondering however do I get my links in my wordpress.org blog to show in a contrast colour? Do any of you wonderful bloggers have the answer?



19 Comments
Looks great. You did a beautiful job making it. I love all the thought behind it. Well done. Brava!
Thanks Barbara! There’s something about bag making that I really love….and you’re right, it’s all the thought that goes into personally it! I don’t make many bags…they can be a bit fiddly what with all the interfacing etc…but the ones I have made please me enormously!
This looks so smart. Would it work in leather I wonder? Well done
Thanks Manju!
That’s the big question mark above my head too! 🙂 Will it work in leather?
I actually think it will work in leather, but my greatest challenge might be the limitations of my sewing machine. I find I have challenges even with sewing jeans sometimes. That being said, I’ve got my eyes open looking for a buttery soft, lightweight leather…or even better…suede. I think it could be fabulous!
Oh, Sue. I really hope my comment makes it through here. This bag is *so good.* As you said, it has this very practical side to it–good size, easy to custom fit on the straps–and then it has your personal, scrumptious touches. THAT BLUE, for example. :swoon: And the lining, along with the color of the grommets and toggle–this is classic but better.
I feel like I need to get a little better with my zipper-installation techniques before I can tackle this bag, but now I have yours to dream towards. ::swoon again::
Hugs,
Sherry
PS: As for the contrasting link color…I don’t have an answer, but I will keep it in mind as I’m researching some other WordPress issues. If I find something, I’ll let you know!
YAY! You are no longer sitting in my spam. I hope it wasn’t too uncomfortable for you there, 🙂 🙂 🙂
Zippers do take a bit of practice but you are doing so brilliantly with your sewing, it won’t be long before zips are old hat for you! I thought adding the zipper flap thingy might be really hard, but Vanessa has very good instructions and the pattern pieces line up perfectly.
As we’ve discussed via email, I’ve worked out a patch of a a sort that allows my links to show up in their customary pink hue!
Although I am not a rucksack person myself, I think you did very well. Love the solid outer fabric (very wise) with the blue and white striped inside. And the the toggle and D Ring closure gives it an elegant vibe.
As for the colour of the links….. I think you should look at:
Appearance -> Customize -> General settings -> Typography -> Body link colour.
Greetje
Thank you Greetje! The colour palette is working well with my wardrobe and that is important to me…thanks for noticing! And thanks also for ‘seeing’ the elegance of the toggle closure. That’s exactly what I was aiming for. Honestly…it’s these details that I enjoy thinking about in the planning stages!
I will check your suggestions, but I think my colours are set correctly. I haven’t changed anything but since the latest update my links do not show in their customary pink colour.
BUMMER
That looks so professional; what a beautiful job!
Thank you very much Catherine!
Oh, I love this knapsack, Sue! It’s the perfect spring/summer pack, and I can see you wearing it a ton. It would be gorgeous in a supple leather (yellow??). Hope your summer is going well, my dear!
YIKES! Sorry I missed replying to your comment Sheila. I read it and immediately started dreaming of buttery yellow leather, LOL. I’m a bit nervous about sewing leather, but I really want this knapsack in a suede or soft leather. There is a leather shop in Vancouver and I am keeping an eye on their stock to see if something suitable comes up for winter sewing!
Oh this is awesome and I’m only three years late seeing it … I love Vanessa’s patterns although I have only made the Senna Tote but I’ve made 30 of them. A testament to well written patterns. I’ve been looking for a backpack pattern for ages that I felt I could make and was looking for a review of a real person who actually made it. Lovely work! I’m also in Vancouver
Hi Toby, thanks for the kind words!
I love this pattern and I can honestly say that this has been my go-to bag for three years! Literally a handful of times I’ve reached for another bag and that is usually in the summer when I sometimes opt for a straw bag.
I had a quick re-read through the blog post and there is one design feature that I may, in future, try to tweak. I’m not yet decided, because seriously this is my number one bag! So here’s the thing…to close the bag, you pull the drawstrings together and tie them. Then you drop the flap down and close. Mine has a clasp, the pattern calls for an easy magnetic connection. I need two hands, one for each end of the drawstring, to cinch them and tie them together. Trying to do it one handed is a bit like trying to tie your shoelaces one handed. It’s easy enough to have my two hands available to tie them, but if I do not have a surface on which to rest the pack while I’m tying them, well then it gets a little awkward. Does that make sense?
So, if I’m at the farmer’s market for example and I anticipate there won’t be a clear (or maybe dry or clean) surface to momentarily rest the bag on, I put things I need to reach in the hidden outside pocket. Works for me!
I’ve thought about trying a new backpack pattern….new patterns can be fun…the style that has the double zipper running along the top of the pack, but they tend to look more ‘sporty’ than The London.
Hi Sue! Yes I can see that being a bit of a struggle … like walking your dogs and trying to get a green bag out of the backpack while juggling leashes .. something is bound to lose … I have my eye on one on Etsy, a purchased one with zipper from Israel but considering the time it will take to get here 🙁 … I guess even one with a zipper would be a bother if you are trying to get into it quickly … yet you don’t want one that looks like a bookbag, or too wide that looks like a kids pack .. or like you say sporty. I like the option of making my own so I can use the fabric I want … what dilemmas! What size are your straps? Is the strap connector on the front the same width? I gather the grommets are 3/4″? Those are the ones I saw at Emmaline. Thank you!
[…] completed just four of the nine so far. To date, I’ve only blogged this make and my London Backpack, which by the way is freakin’ fantastic. I use it all the time. Even though I haven’t […]
Hi! I love the clasp closure. Do you have instructions on how you made that modification? I want to make this bag for my upcoming trip to Europe
Hi Helen, I kind of made it up as I went. This is roughly the steps: I cut a long piece of fabric 2″ wide. I folded and pressed in each long edge of fabric 1/2″. I threaded on the clasp and then folded the length of fabric in half enclosing the raw edges. I pinned this fabric piece to the flap after I attached the flap lining. I secured the fabric strip by topstitching/edge stitching the strip onto the flap, starting at the raw edge at the top of the flap, pivoting at a right angle when I got about 1″ from the clasp, continuing across the short end of the strip, pivoting again at a right angle and continuing to edge stitch the strip along the other side, ending at the raw top edge of the flap piece. I repeated the process for the length of fabric strip and clasp that is attached to the main body of the bag, sewing it on early in the process of making the bag.
Hope that helps. If you have specific questions, ask away. Happy travels!