Hey Every buddy. This could be a technically challenging post. My WordPress updated to a newer, supposedly better, version of its former self and as a result I have some new tricks to learn. I remember years ago, starting the blog, and feeling all fired up to learn me some mad computer skillz. While I’m not completely grumpy about the updates…I admit…I did grumble under my breath about ‘Why do things that were working perfectly fine have to change (blah, blah, blah).’ And….ermmmm…my grumble turned out to be loud enough for my techie husband to not only hear me, but incited him to stand up for all the wizards that make it possible for me to have a blog at all. And he’s right…this ability to blog and share is magic and I really…
Why hallo, hallo. It wasn’t my intention to post three DIY hacks, let alone three York Pinafore DIY hacks, in a row…but…it is what it is. I really like this pattern and it’s very hackable. I find myself approaching my blog a little differently these days. Like some other sewing bloggers, I’ve been feeling less inclined to blog all my makes. I do, however, still like to look at earlier posts to refresh my memory….checking the fit of a garment, reminders about tweaks I’ve made to patterns…that kind of thing. I find a neatly documented blog post much, much, easier to follow than my scribbled notes on pattern pieces. So for now, I am continuing to document at least some of my makes, albeit with more of an emphasis on details than in…
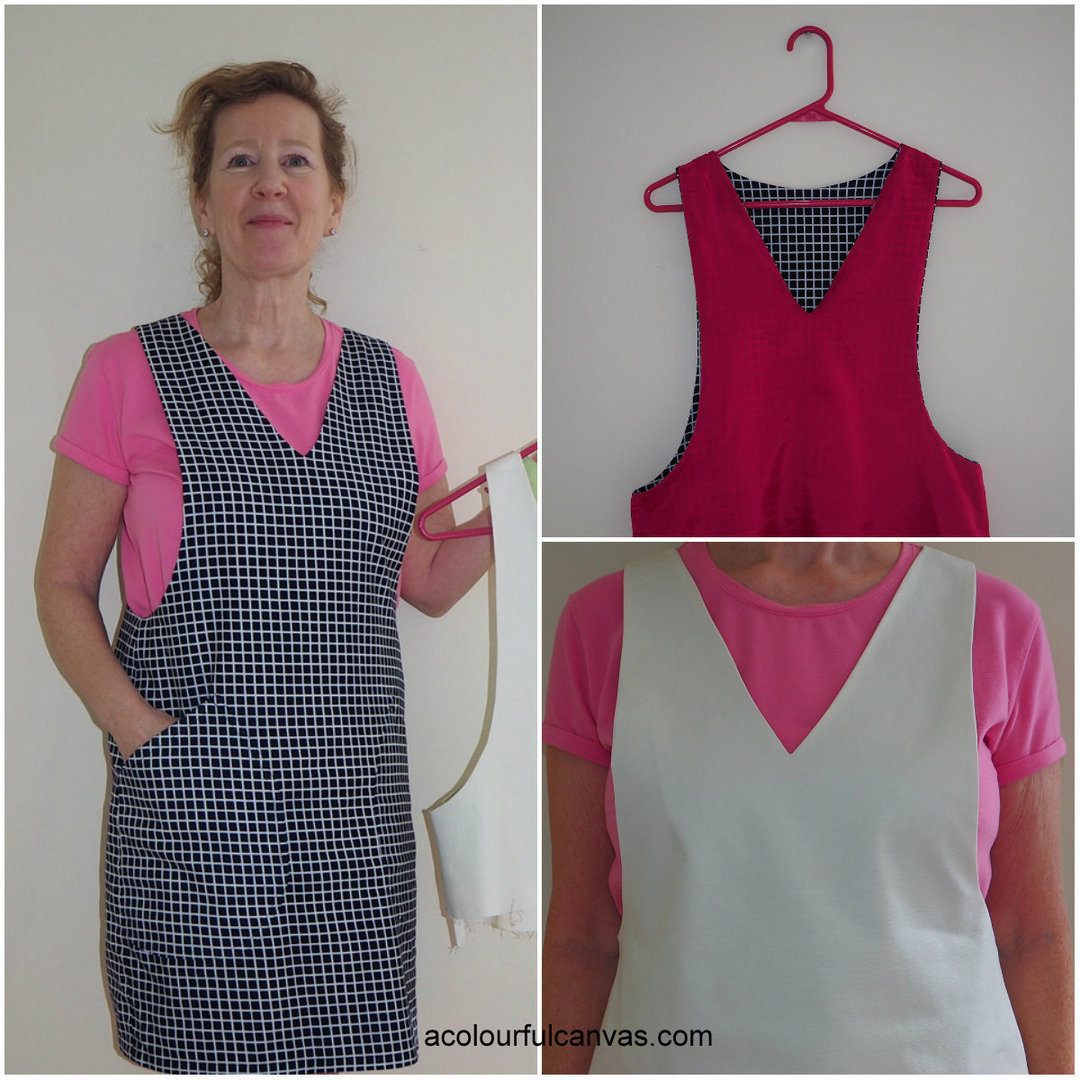
Well, hello again! As promised, I’m back with Part II of my York Pinafore 2.0 saga. Today I’m demonstrating how I changed the neckline from a scoop to a V and also how I added a full lining. But quickly, before we get started: The York Pinafore is rated for beginners but I would classify the lining method I’m demonstrating as an intermediate skill level. That being said, I’ve provided photos for every step and I’ve tried very hard to be clear and concise with my accompanying dialogue. Hey, you may want to give it a go regardless of your skill level. (Your feedback in the comments section will help me to improve the instructions and may also help others that are considering lining their York Pinafores.) A caution….If your main fabric is heavy/bulky,…
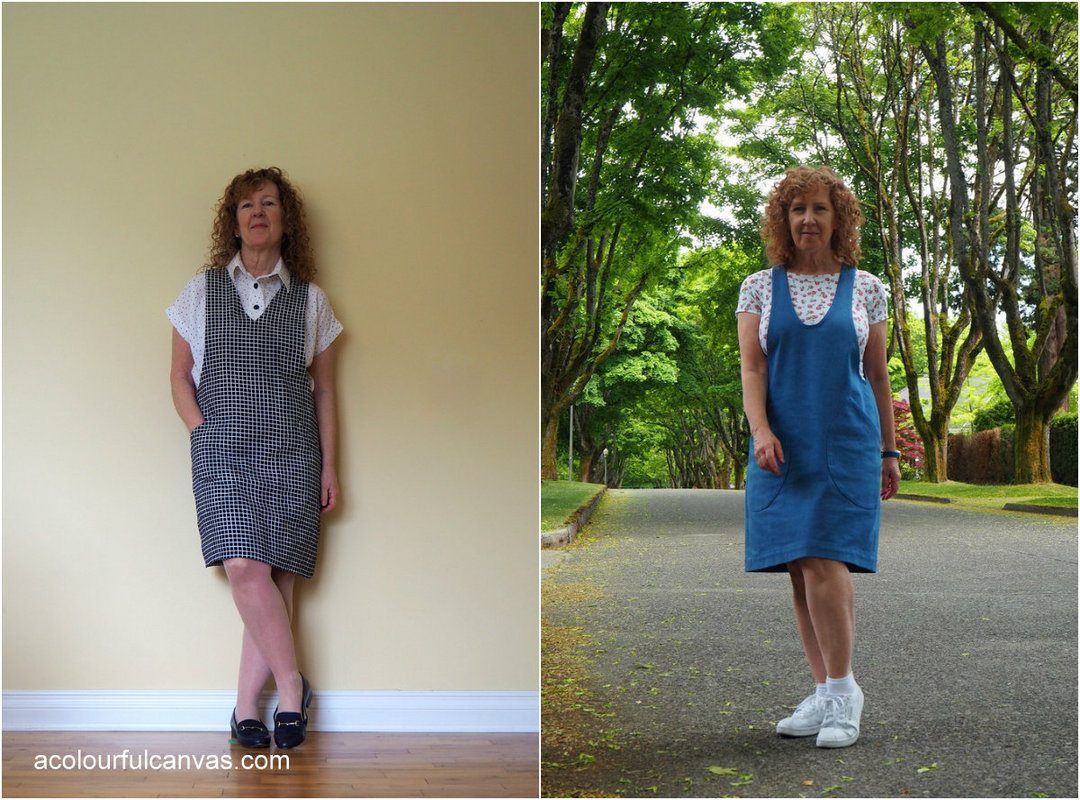
Hallo. Hallo. This post….{and the one following tomorrow}…has been a long time coming. With that said, I am happy to introduce my York Pinafore 2.0….a garment that I’ve worn frequently since sewing it last autumn. Yeppers…it passed the test of time. A lot of time. So. Who remembers my first York Pinafore, seen above, and blogged here? Oh my goodness…I wanted to like that garment so much….but…..no matter what top I wore with it, there was…keeping it real my friends…way too much side-boob. Not a surprise really…the included FBA instructions didn’t work well for me and I ended up fitting the pattern based on my upper bust measurement, not my full bust measurement. And for someone that routinely does a 2″ FBA…well…you see the results. After some thought I came up with a solution…


